
Create the vault
- 01
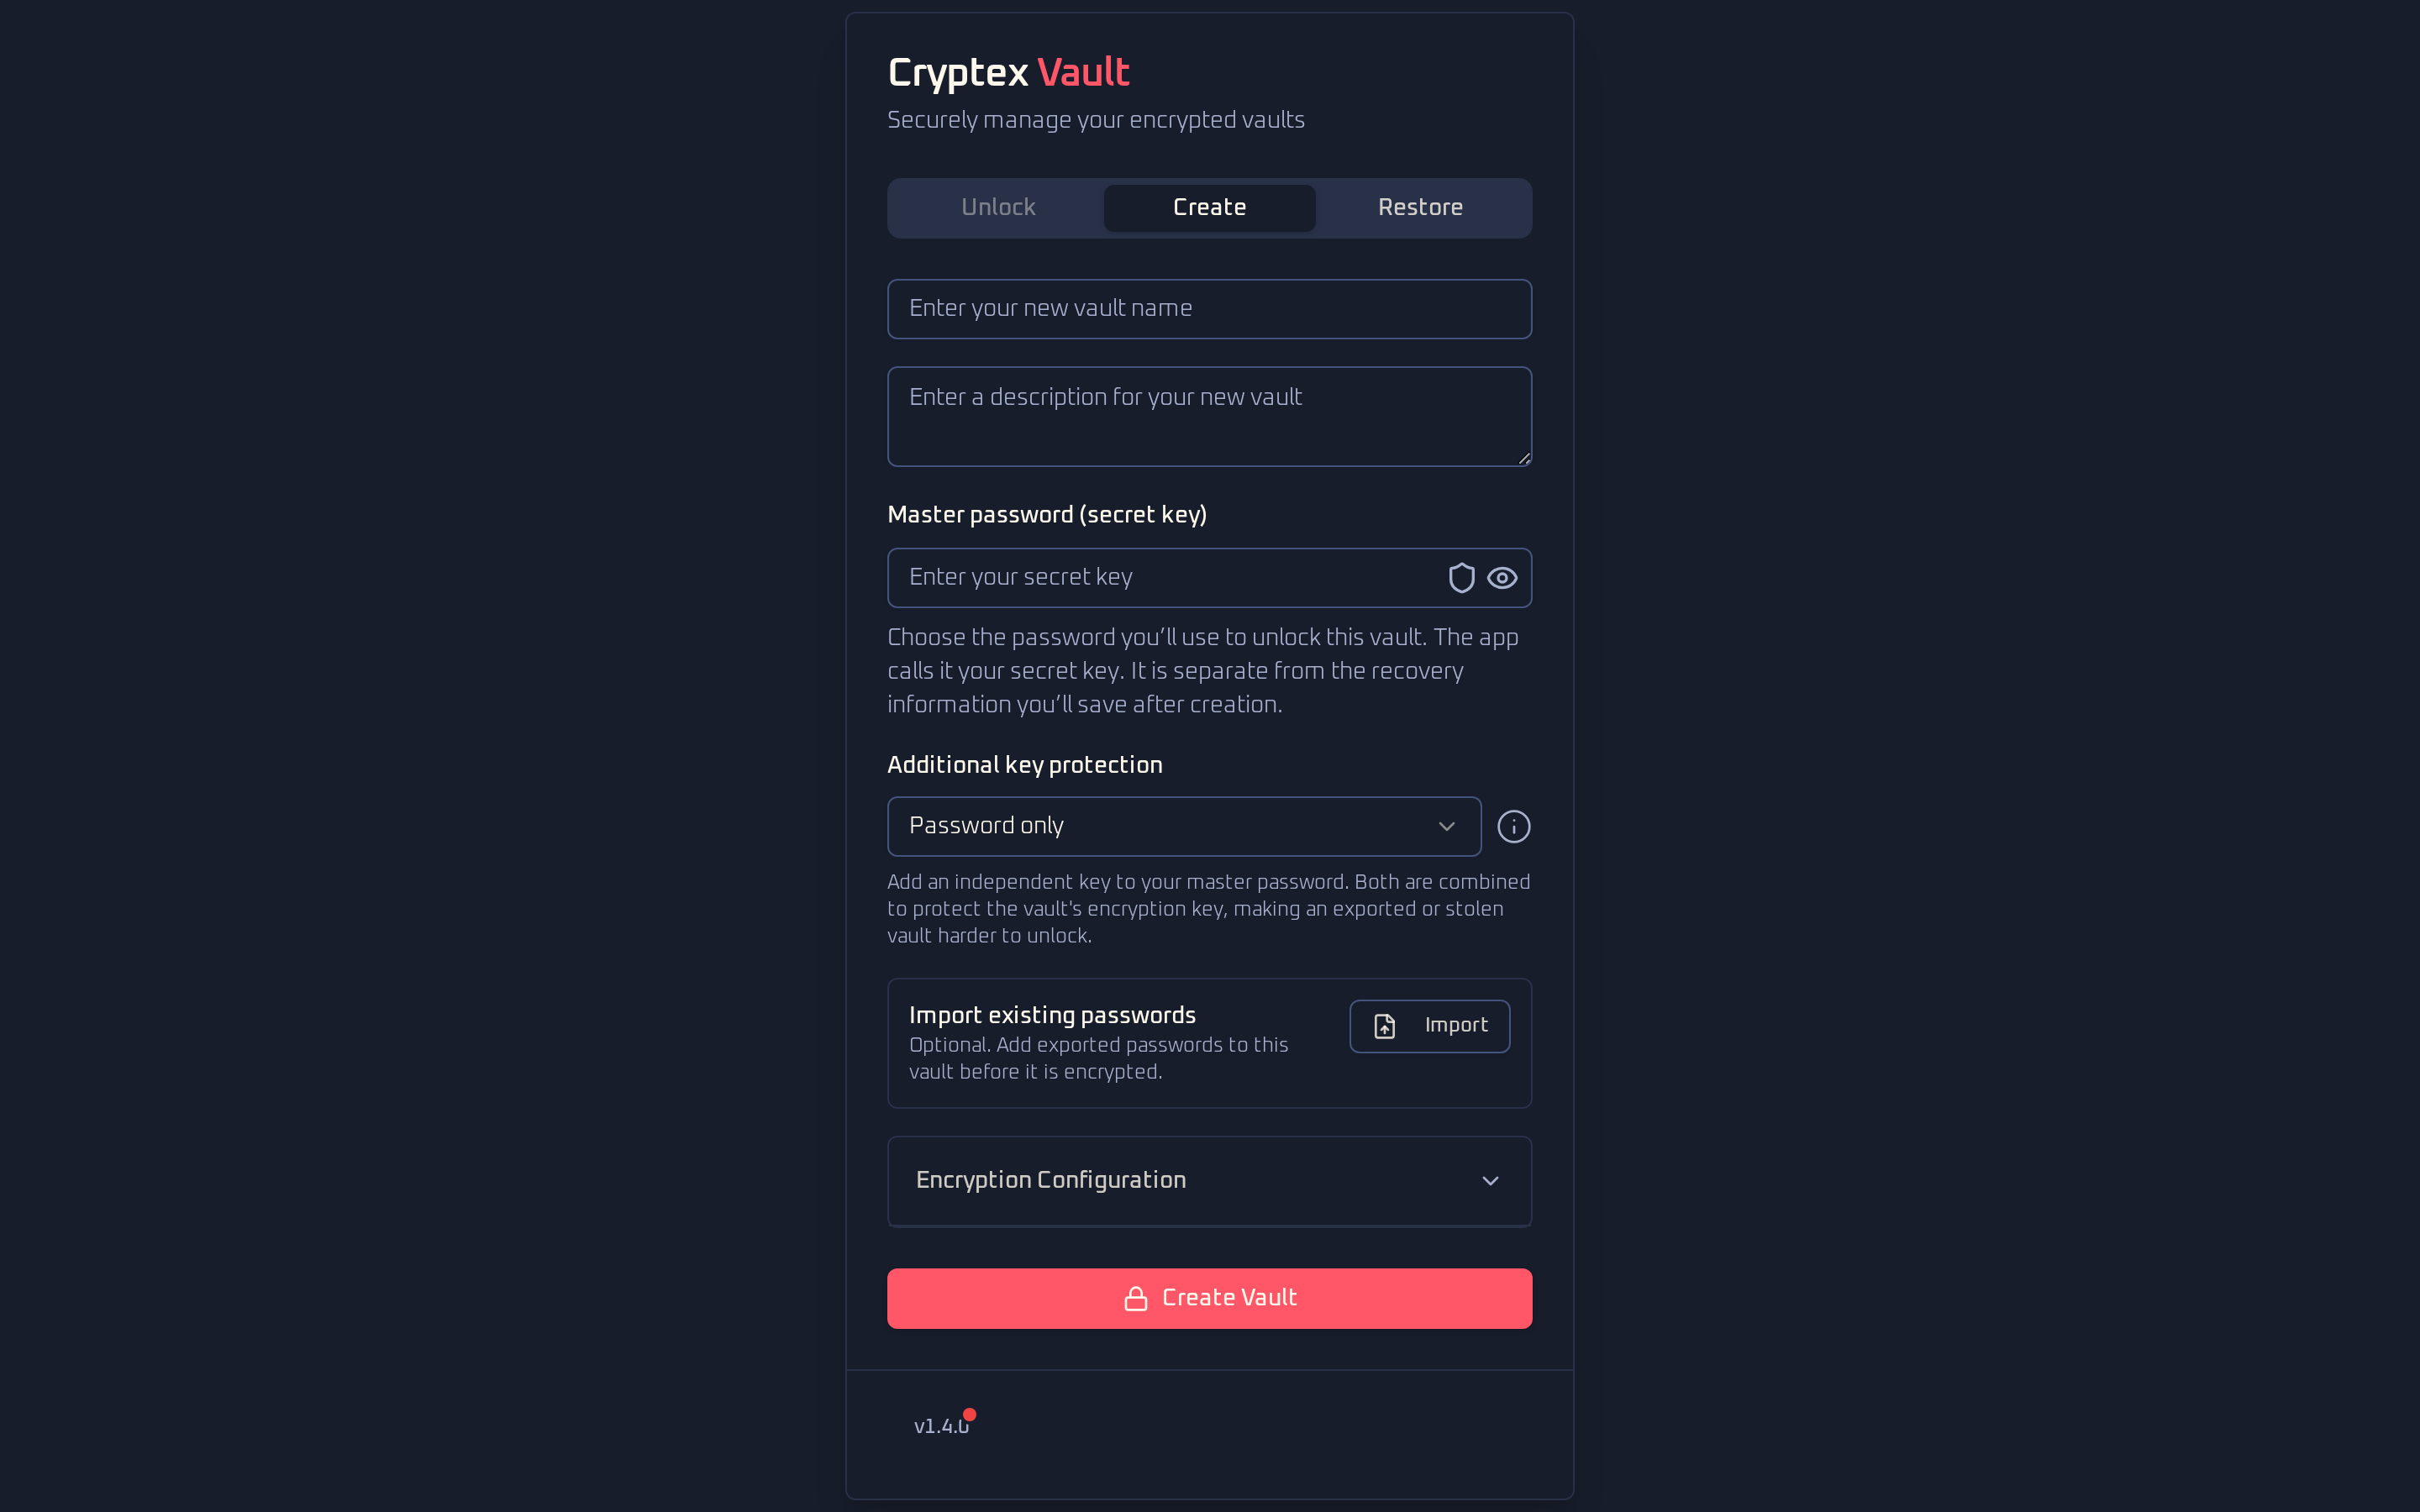
Open Cryptex Vault. On a new browser, the Create tab is selected.
- 02
Give the vault a name. The description is optional.
- 03
Enter a strong Master password (secret key), or use the generator beside the field. Then select additional key protection, if you want it.
- 04
Optionally, choose Import existing passwords to bring in logins from another password manager. Follow the import guide to export and select the right file. You can also import later.
- 05
Select Create Vault.
Additional key protection requires another secret alongside your master password. It helps protect a stolen vault file if someone learns or guesses that password.
- Password only is the simplest option. There is no extra phrase or security key to keep, so choose a strong, unique master password.
- Generated protection phrase adds a random secret. The 128-bit option is shorter; the 256-bit option offers a larger security margin with a longer phrase to store. This device caches its derived key for convenient unlocks, but you need the phrase after restoring a backup or on a device without that cached key.
- Security key (WebAuthn PRF) uses a compatible authenticator instead of a phrase. It depends on security-key and browser support and stays bound to the enrolled key and browser. Keep your recovery code in case that key becomes unavailable.
Keep the default Encryption Configuration unless you understand the speed and password-guessing tradeoff.
 View full size
 Stop and save the recovery code
After creation, the Save these secrets now dialog shows your vault recovery code once. Write it on paper or print it and keep it offline in a safe place, separate from your device. Confirm that you have saved it before continuing.
If you chose a protection phrase, save that too. If you chose a WebAuthn security key, read the device warning before you continue. The recovery code is the fallback when that key is unavailable.
Add your first login
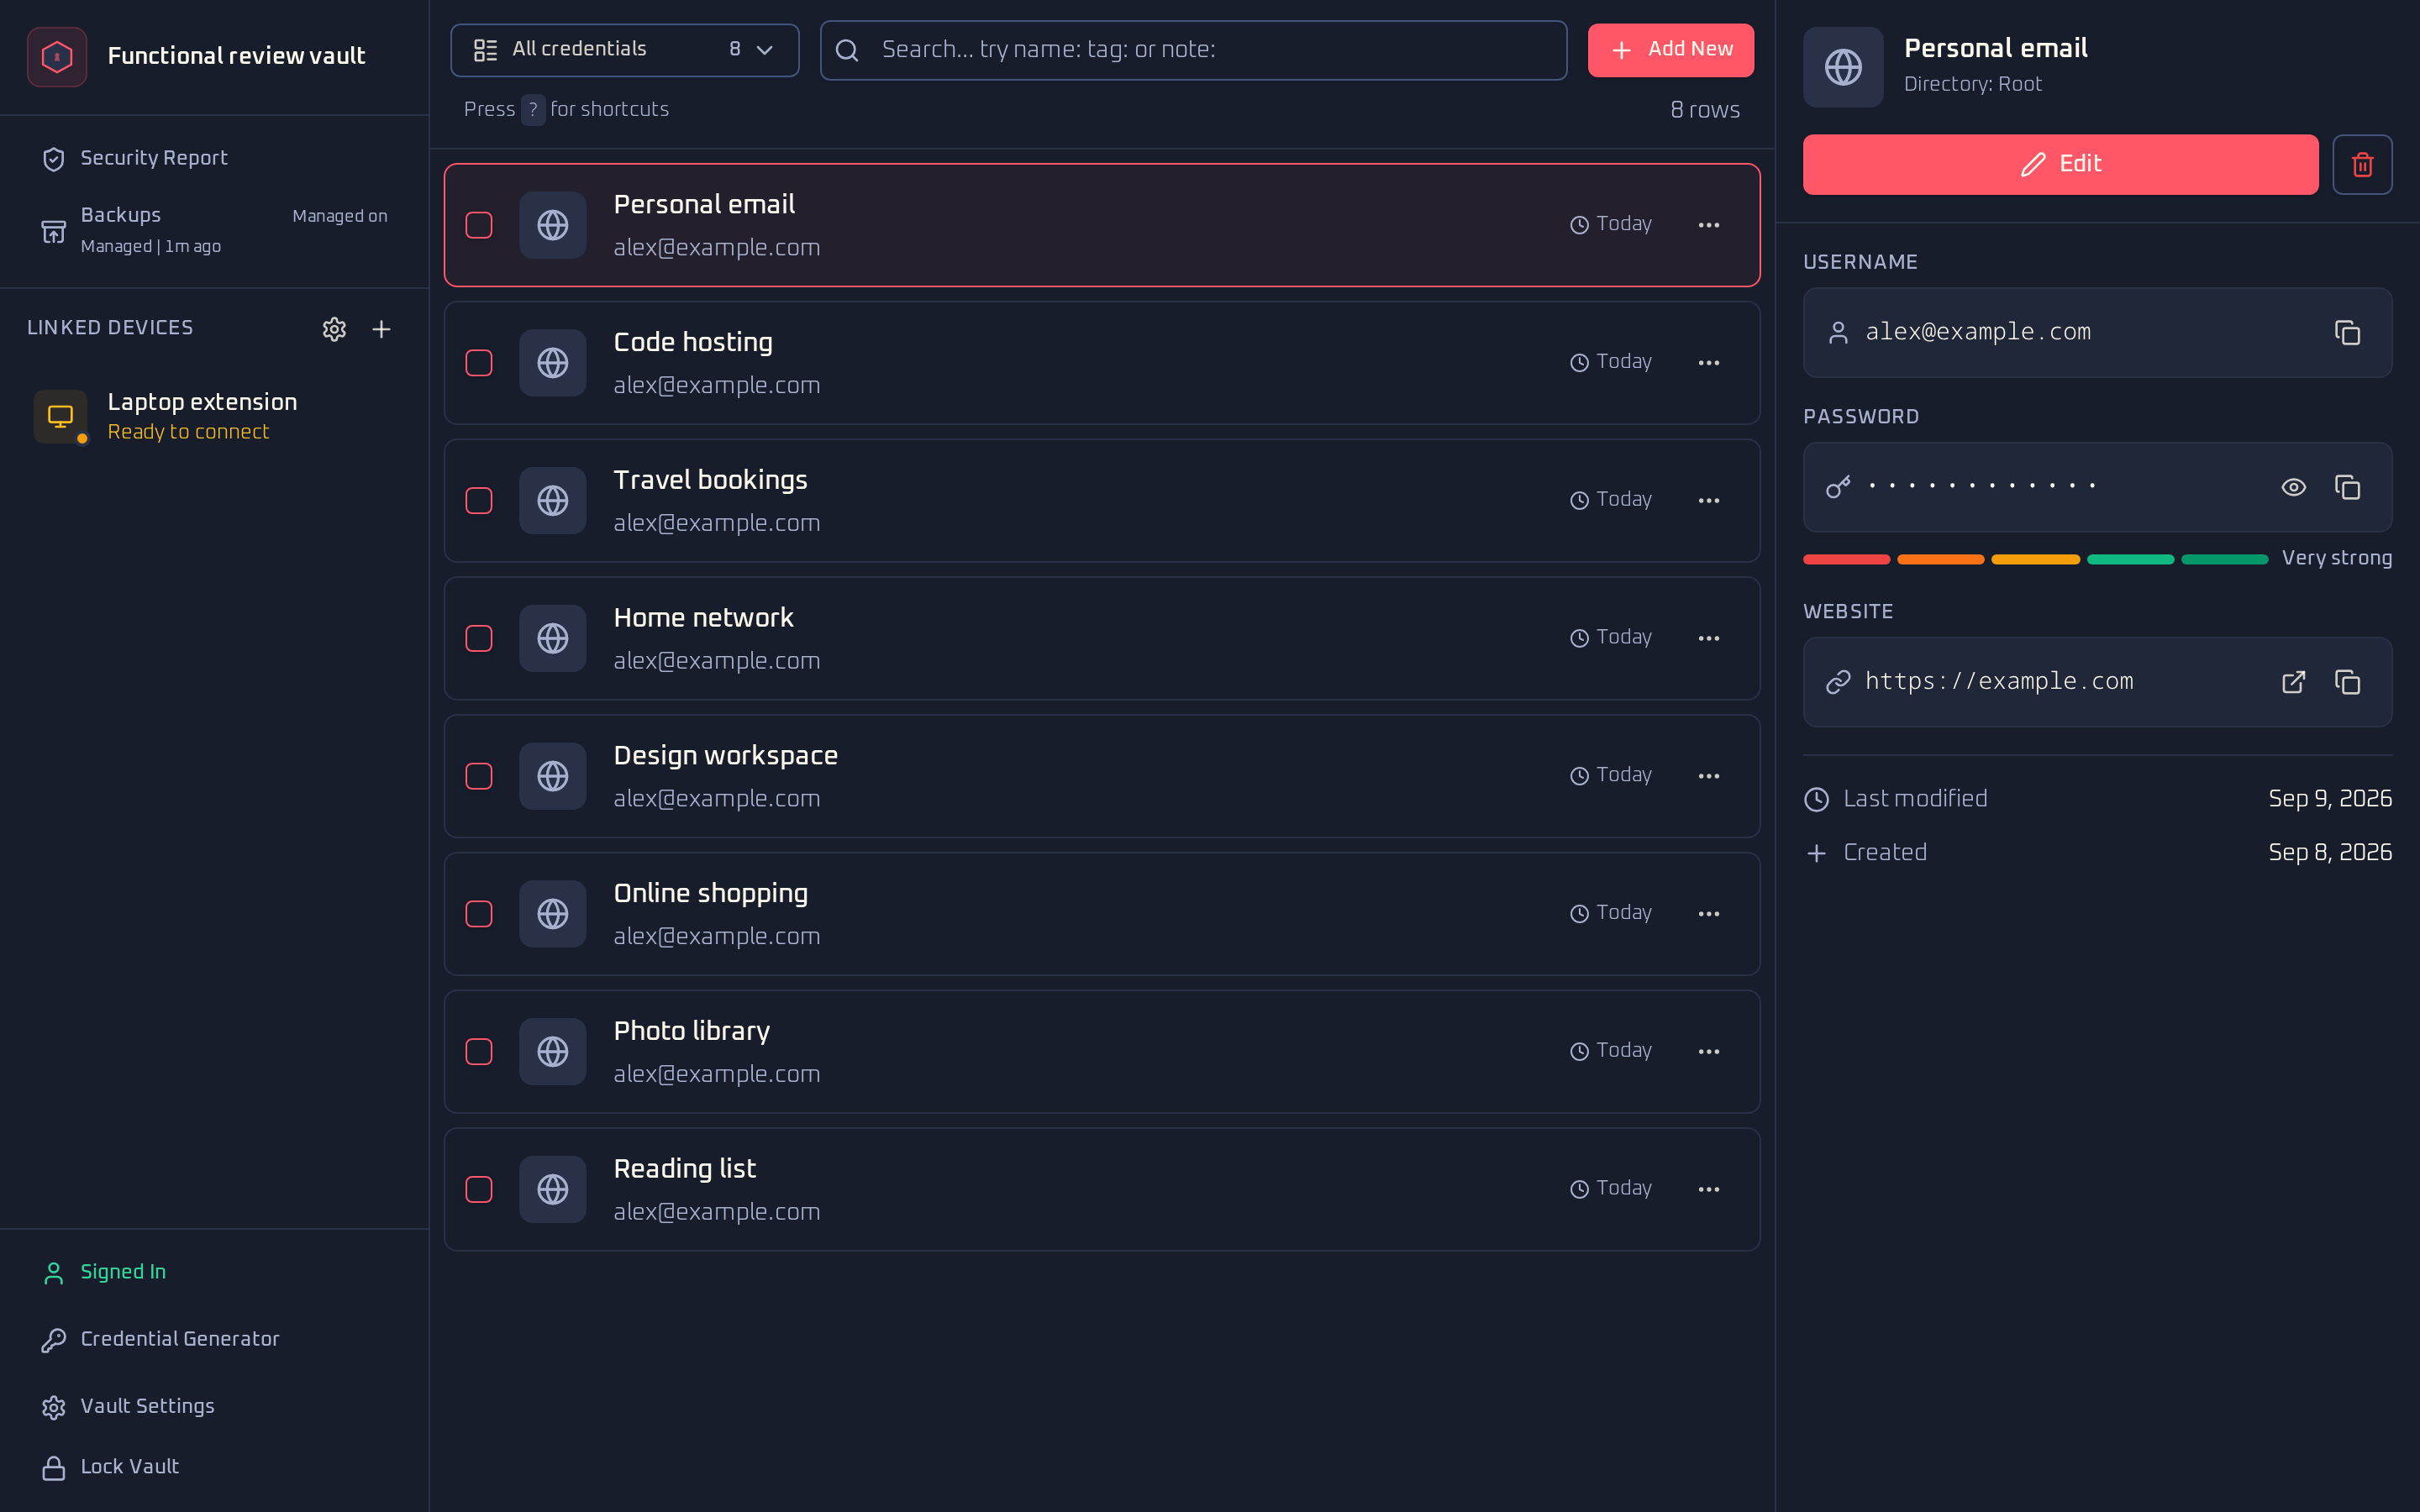
In the unlocked vault, choose the add credential action. Fill in the site, username, and password, then select Create Credential. Open the saved item once and check its URL and username before relying on autofill.
To move more than a few logins, use the import guide rather than entering them one by one.
 View full size
 Before you replace your old password manager
- 01
Open Backups in the sidebar. In the Backup Center, choose Download backup under Local encrypted backup to save a
.cryxfile. Keep it somewhere safe and separate from your device so you have a copy if local data is lost. - 02
Lock the vault and confirm that your master password unlocks it. This checks that you can get back in before you start relying on it.
- 03
Open several important entries and check their URLs, usernames, passwords, notes, and one-time codes. Try a few logins to catch missing or incorrectly imported details.
- 04
Keep your old password manager unchanged until the new vault works and you have tested restoring the backup. That gives you a fallback while you check the move.